- Gaming Desktops
- AI PCs
- Accessories
- Apparel
- Bay Devices
- Blank Media
- Bundle Deals
- Cables & Adapters
- Caddies & Dockers
- Cases
- Case Modding & Accessories
- Cooling Fans
- CPU Coolers
- CPUs
- Custom Water Cooling
- Desktop Computers
- EX-DEMO
- Flash Memory
- Gadgets
- Gaming Accessories
- Gaming Furniture
- Gift Vouchers & Merch
- Graphics Cards
- Hard Drives & SSDs
- Hard Drives & SSDs - External
- Headphones & Microphones
- Home Entertainment
- Hubs, KVMs & Port Expanders
- Keyboards
- Memory (RAM)
- Mice & Mousemats
- Monitors
- Motherboards
- Networking
- Network Storage
- Notebooks & Portable
- Notebook Bags & Accessories
- Optical Drives
- Power Protection
- Power Supplies
- Printers & Consumables
- Rack & Accessories
- Simulation
- Smart Home
- Software
- Sound Cards
- Speakers
- Tools
- Custom UV Printing
- Virtual Reality
- Webcams
Learn more
Step-by-step guides and important information to help you post-purchase.
Important Post-Purchase Information
IMPORTANT: The below products have specific instructions to ensure they aren't damaged during unboxing or use. If they do become damaged, it often isn't covered by warranty.
Monitors
Curved Monitor Unboxing Instructions
AVOID A CRACKED MONITOR
For your safety and the safety of your screen it is important to read the step-by-step guide and/or watch our video below. In most cases, unpacking a screen can result in breakage. Broken screens are not covered under warranty.
Step-By-Step Guide
The above video and below step-by-step guide are based on the AOC 34" G2 Series Curved Ultrawide Gaming Monitor. Your monitor may have slightly different setup instructions so please read your product manual thoroughly.
PLEASE NOTE: Your product warranty most likely won't cover damages induced from a lack of care, so please proceed cautiously.
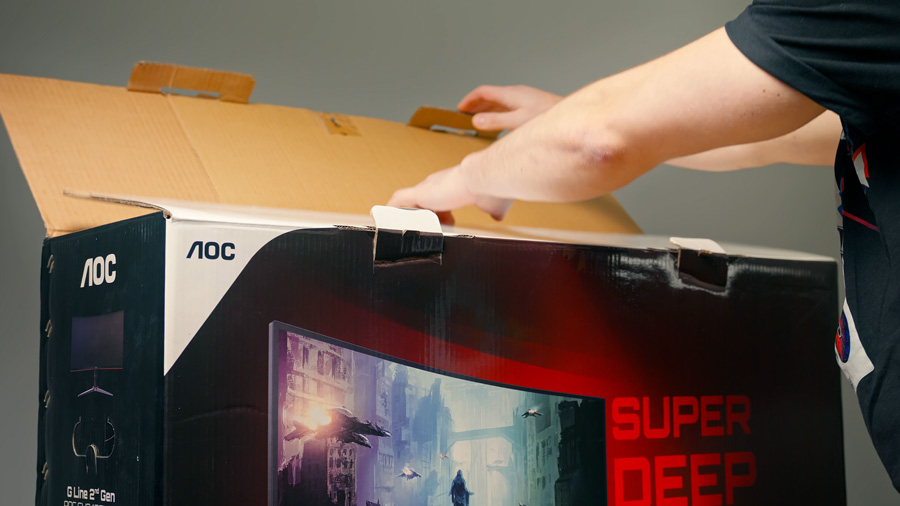
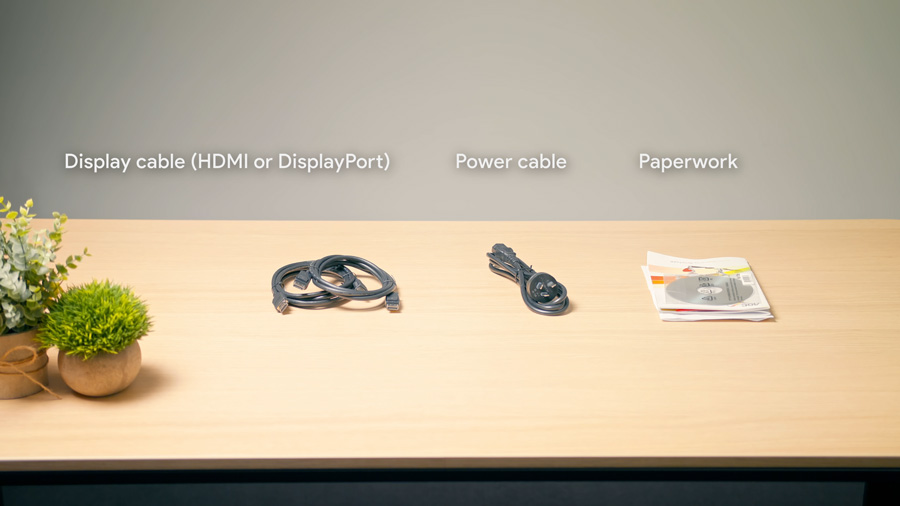
Step 1 - Getting setup
Be careful whenever you are handling the monitor, as the screen is fragile and prone to damage from impact, or even pressing your fingers on the screen.
Please make sure you have a flat, elevated surface to work from.
Open up the box and take out any included accessories.
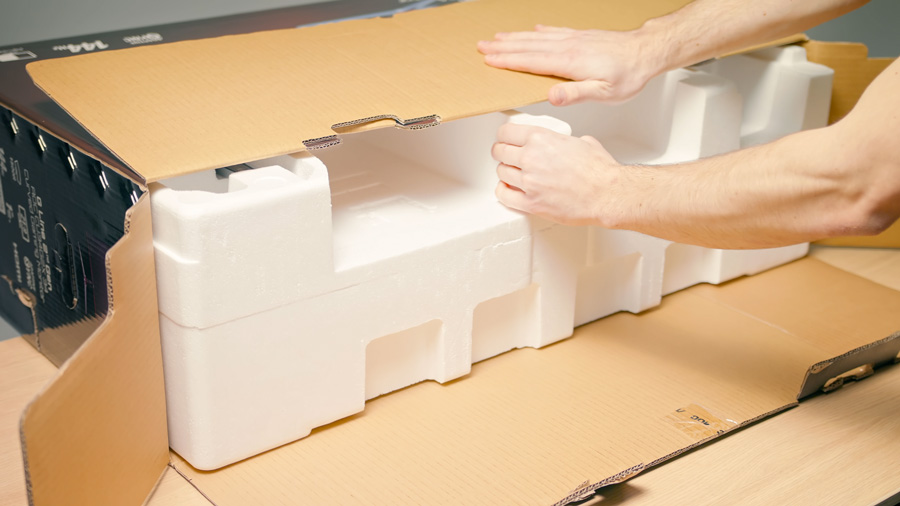
Step 2 - Slide the monitor out of the box
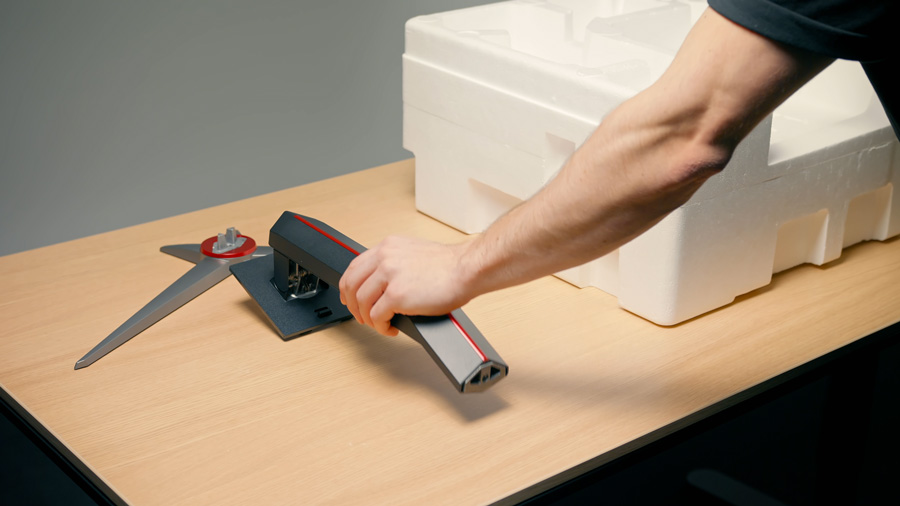
Put the box on it’s side, and slide out the monitor enclosed in it’s foam packaging (the side facing up should be the side that has the included monitor stand).
Remove the monitor stand (there may be a few parts) and leave it to the side.
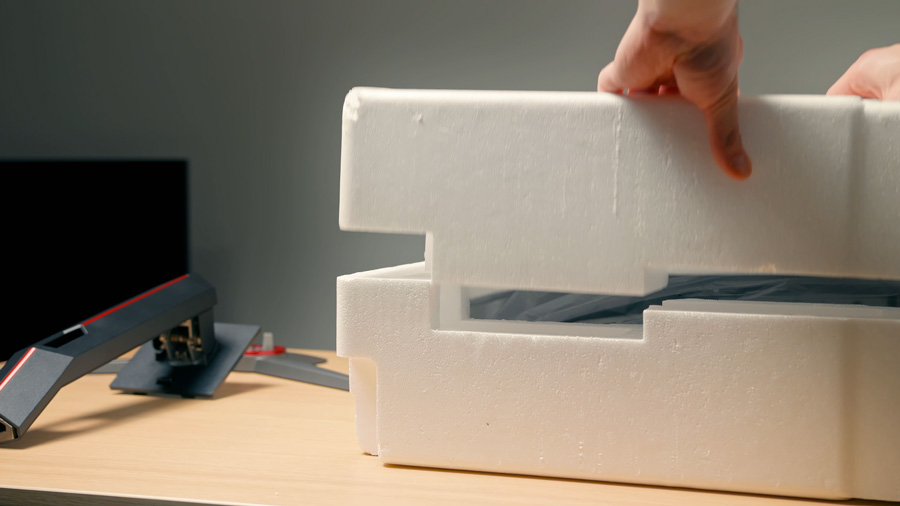
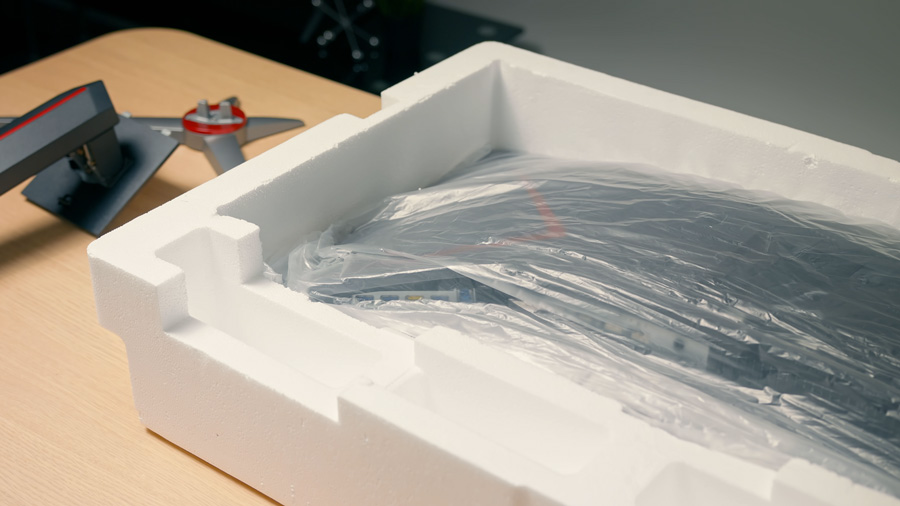
Step 3 - Remove the top layer of foam
Remove only the top piece of foam to reveal the back of the monitor.
Leave the monitor laying flat inside the bottom foam panel to protect the screen from any damage.
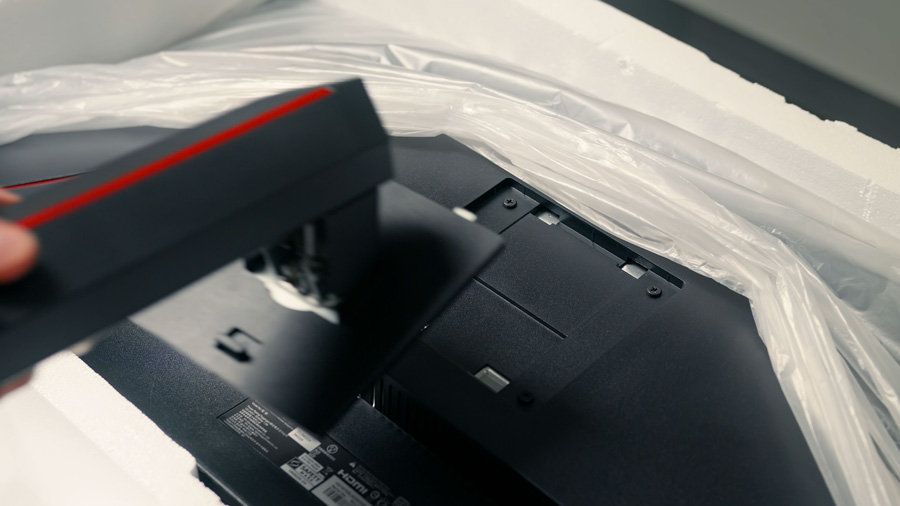
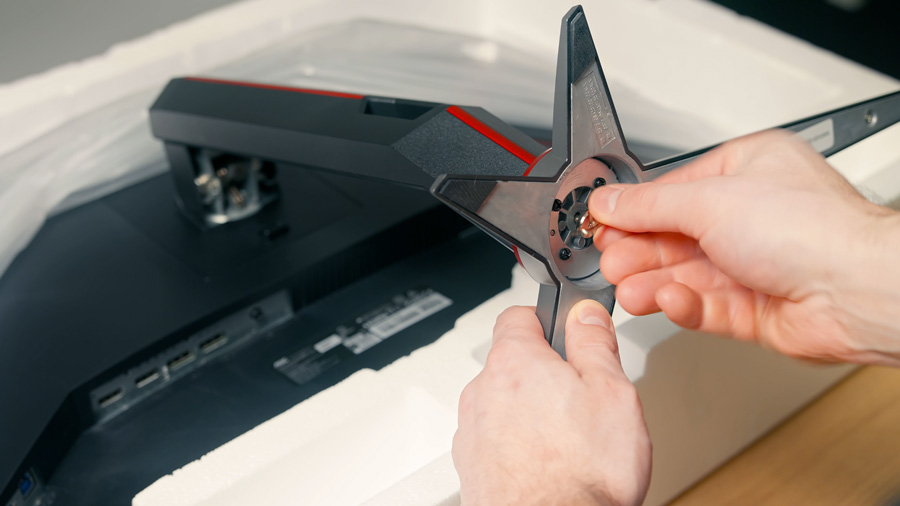
Step 4 - Attach the monitor stand
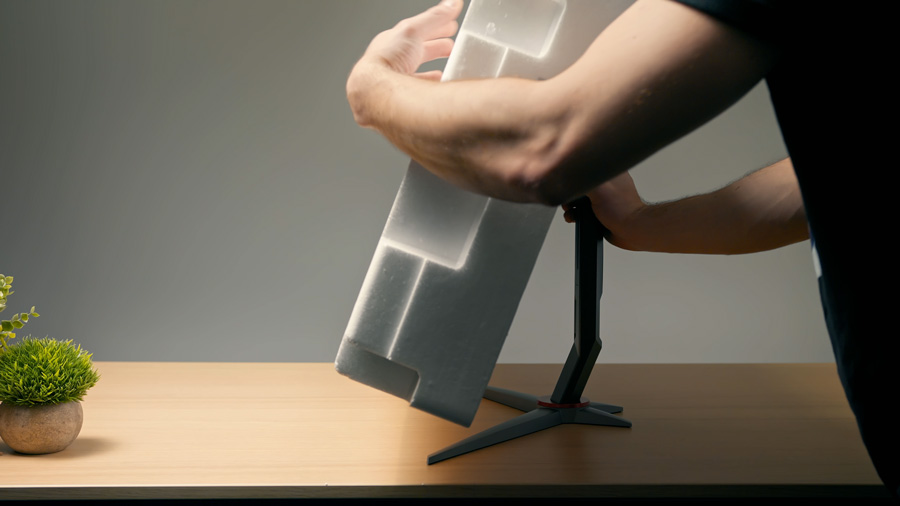
Do not take the monitor out of the foam yet, first attach the monitor stand so that you can stand the monitor up without handling the delicate screen directly.
Pull back the protective sheet and attach the stand to the back of the monitor.
Your monitor may require screws to install, if so please ensure you don’t apply too much pressure when tightening, as you risk damaging the display.
Install any other parts of the stand (such as feet) so that the monitor stand is fully attached to the monitor.
Step 5 - Stand the monitor up
Please remember NOT to touch the screen with your hands at any time.
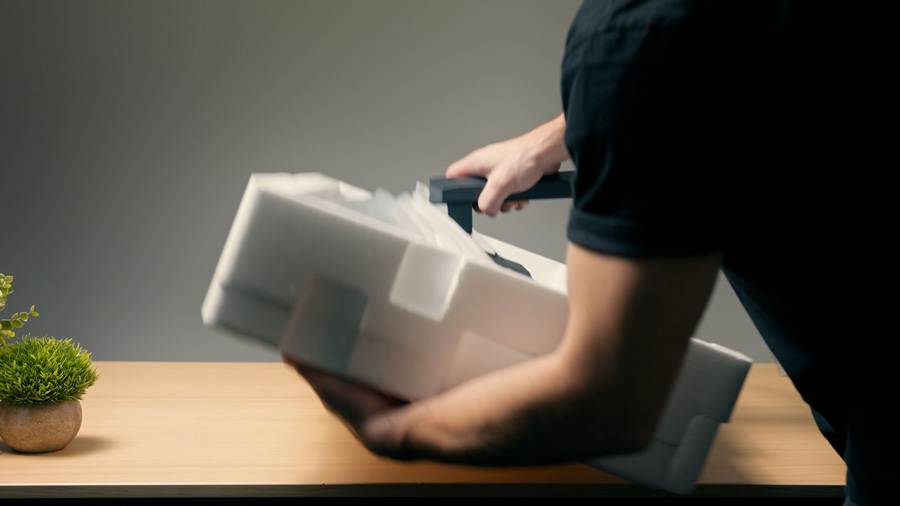
Lift the foam with the screen, while holding the stand, and place it down on the desk.
If you need to move the display around your desk, please do so by placing your hands under the monitor (unless your fingers will be directly on the screen, in which case hold the monitor stand to move the monitor), rather than gripping the sides of the screen, to prevent your fingers from causing any damage.
Step 6 - Plug in the cables and play!
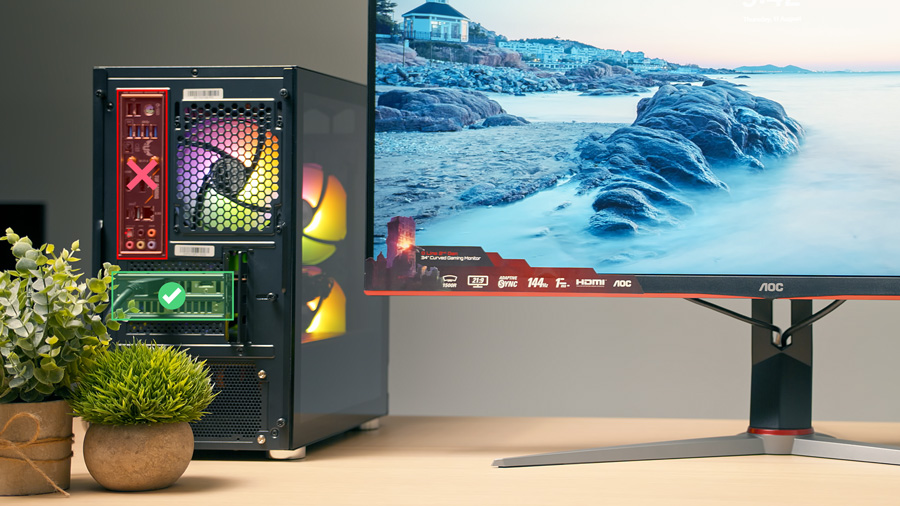
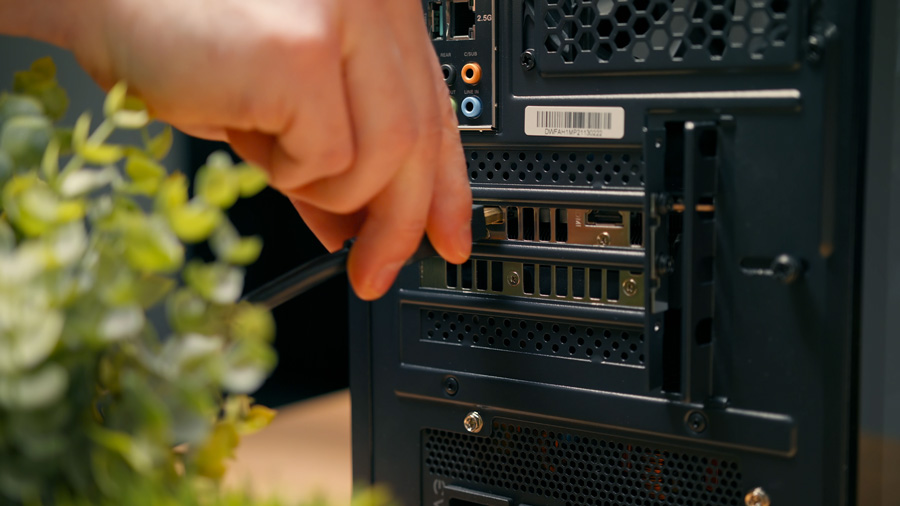
Plug in the power and display cable to the monitor and then to power and your PC (ensuring that if you have a graphics card, you are plugging the display cable into the relevant graphics card port instead of the motherboard).
Turn on your monitor and PC if they aren't already on.
Most monitors will automatically detect your input type and switch to that mode, however if you’re if you’re not seeing anything, you will most likely need to manually change the input mode (check your product manual for specific instructions).
Barring any issues, you should now see your monitor displaying your PC output, enjoy!


